Sous vide cooking has revolutionized the culinary world, allowing home cooks and professional chefs alike to achieve restaurant-quality dishes with unparalleled precision. At its heart lies the principle of controlled temperature cooking, where food is gently brought to its ideal doneness in a water bath. But to truly unlock the magic of sous vide, one crucial element stands out: the sous vide vacuum seal. Without a proper, airtight seal, you’re missing the very essence that makes this technique shine.
This comprehensive guide will demystify the art and science of vacuum sealing for sous vide, covering everything from why it’s indispensable to choosing the right equipment and mastering the technique. Prepare to elevate your cooking, extend your food’s shelf life, and savor every perfectly cooked bite.
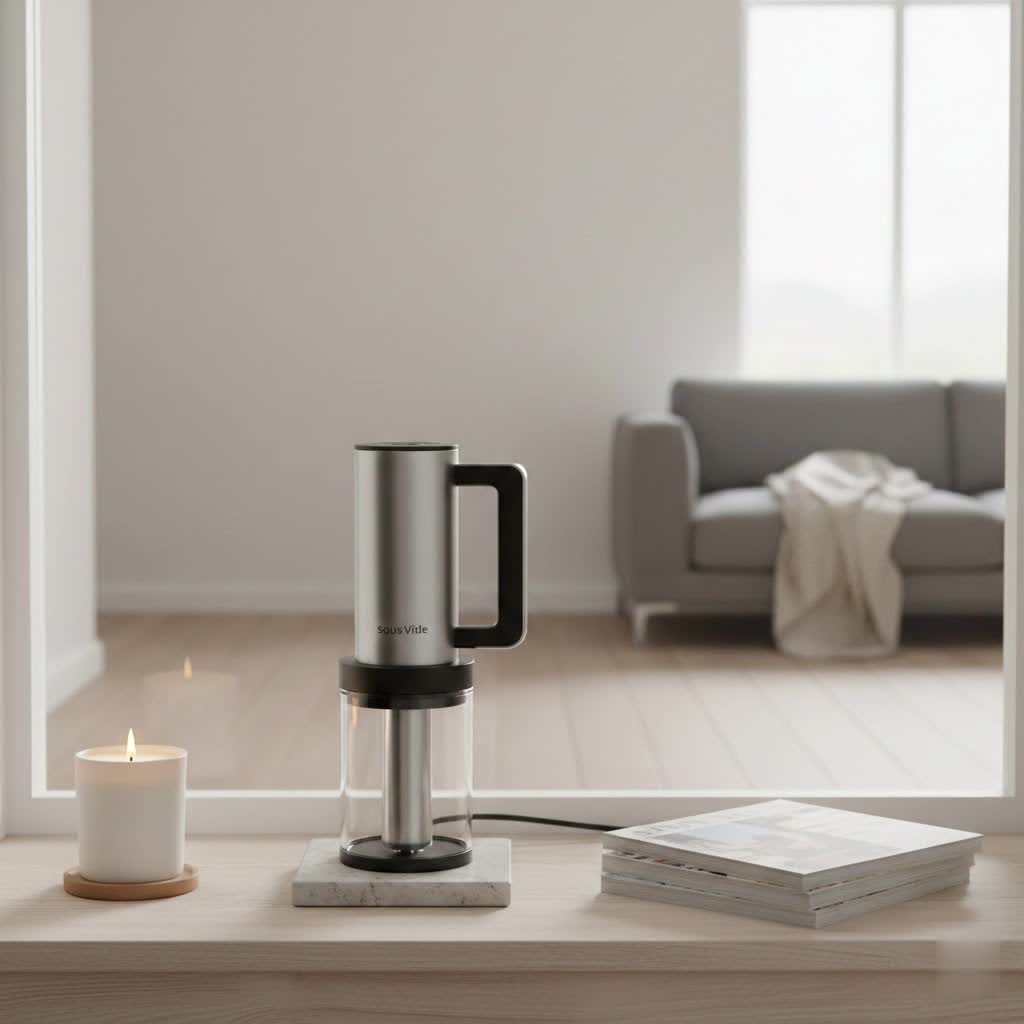
What is Sous Vide?
Sous vide, French for “under vacuum,” is a cooking method where food is sealed in an airtight bag and cooked in a precisely temperature-controlled water bath. Unlike traditional cooking methods that rely on time and intense heat, sous vide ensures that your food reaches an exact internal temperature from edge to edge, without the risk of overcooking.
Historically, this method gained prominence in professional kitchens for its incredible consistency. Today, with the advent of affordable immersion circulators, sous vide has become accessible to home cooks, transforming everything from steak and chicken to vegetables and even desserts. Its primary advantage is delivering perfectly cooked, tender, and juicy results every single time. While it often requires more cooking time upfront, the hands-off nature of the process and the exceptional quality of the outcome make it a game-changer for many.
Why Vacuum Sealing is Essential for Sous Vide
You might wonder if a simple zip-top bag will suffice. While some alternatives exist, vacuum sealing plays a critical, multifaceted role in achieving optimal sous vide results.
The Critical Role of Air Removal
|
Our Picks for the Best Sous Vide in 2026
As an Amazon Associate I earn from qualifying purchases.
|
||
| Num | Product | Action |
|---|---|---|
| 1 | INKBIRD WIFI Sous Vide Cooker ISV-100W, 1000 Watts Sous Vide Machine Immersion Circulator with 14 Preset Recipes on APP & Calibration Function, Thermal Immersion, Fast-Heating with Timer |

|
| 2 | Anova Culinary Sous Vide Precision Cooker Pro, 1200 Watts, Black and Silver |
|
| 3 | Anova Culinary Sous Vide Precision Cooker 3.0 (WiFi), 1100 Watts |
|
| 4 | Greater Goods Digital Food Scale for Kitchen & Baking, 10kg/22lb High-Capacity Weight Scale with 1g Precision, Stainless Steel Platform, Hi-Def LCD, Ideal for Bread, Sourdough & Bulk Cooking |
|
| 5 | Greater Goods Kitchen Sous Vide Machine - Precision Cooker, Immersion Circulator, Brushless Motor, 1100 Watts (Onyx Black) |
|
| 6 | Anova Culinary Sous Vide Precision Cooker Nano 2.0 |
|
| 7 | Sous Vide Machine,1300 Watts, Immersion Circulators, Sous Vide Precision Cooker, Steak Cooker, Temperature and Time Digital Display Control, Ultra-Quiet,Fast-Heating,Easy to store,IPX7 Waterproof |
|
| 8 | Anova Culinary Sous Vide Precision Cooker Mini, 850 Watts, Black and Orange, App Enabled, 2024 Model |
|
| 9 | Sous Vide Machines, Sous Vide Cooker, 1000 Watts Immersion Circulators with Recipe, Accurate Temperature and Time Control |
|
| 10 | Sous Vide, Wancle Sous Vide Cooker 1100W IPX7 Waterproof Thermal Immersion Circulator With Reservation Function, Easy to store |
|
Air is the enemy of even cooking in sous vide. If air pockets remain in the bag, they act as insulators, preventing direct contact between your food and the temperature-controlled water. This leads to inconsistent cooking, with some parts of your food potentially undercooked while others reach the desired temperature. A strong vacuum seal removes nearly all air, ensuring maximum thermal contact and uniformly cooked food. This also prevents the bag from floating, keeping your food fully submerged and cooking correctly.
Preventing Water Contamination
A reliable vacuum seal acts as an impenetrable barrier, preventing any water from the bath from seeping into your food. This is vital for maintaining the integrity of your dish, ensuring it cooks in its own juices and marinades rather than becoming waterlogged and bland. The sealed environment locks in moisture and natural flavors, contributing to the succulence that sous vide is renowned for.
Enhanced Flavor and Texture
Vacuum sealing creates a unique “flavor chamber.” By removing air, marinades and seasonings are drawn deeper and more rapidly into the food, intensifying flavors in ways traditional marinating simply can’t match. The vacuum pressure also aids in mechanical tenderization, helping to break down tougher fibers in meat, resulting in an incredibly tender finish. Food cooked in its own concentrated juices retains its natural moisture, leading to richer flavors and superior textures.
Extended Shelf Life and Meal Preparation
Beyond the cooking process itself, vacuum sealing offers significant benefits for food storage and meal prep. By removing oxygen, the growth of spoilage-causing microorganisms like bacteria and mold is drastically slowed. This extends the shelf life of raw ingredients and cooked sous vide portions by up to five times compared to conventional storage methods. For instance, vacuum-sealed meat can last for up to three years in the freezer without suffering from freezer burn, a common issue caused by air exposure that degrades food quality. This makes vacuum sealing an invaluable tool for bulk buying, batch cooking, and effortless meal planning, allowing you to prepare meals days or even weeks in advance.
Types of Vacuum Sealers for Sous Vide
Choosing the right vacuum sealer is key to a smooth sous vide experience. There are primarily two types suited for home use, each with its own advantages and considerations.
External/Edge Sealers
External vacuum sealers are the most common and generally more affordable option for home cooks. They work by placing the open end of a specially designed bag into the machine, which then sucks out the air and heat-seals the opening.
- Pros:
- Cost-effective: Generally much less expensive than chamber sealers.
- Compact size: Smaller footprint, easier to store in most kitchens.
- Ease of use: Typically straightforward operation with simple controls.
- Cons:
- Liquid limitations: Struggle with liquids or very moist foods. The machine’s pump can draw liquids into the sealing chamber, which can damage the machine or prevent a proper seal. Tips like freezing liquids first can help.
- Bag requirements: Usually require embossed (textured) bags to create air channels for effective vacuuming, which can sometimes be more expensive than smooth bags.
Chamber Sealers
Chamber vacuum sealers are larger, more professional-grade machines. The entire bag, including its open end, is placed inside a chamber. The machine then evacuates all the air from the chamber itself, seals the bag, and then reintroduces air.
- Pros:
- Handles liquids perfectly: Because the entire chamber is depressurized, liquids stay within the bag and won’t be sucked into the pump, making them ideal for marinating or saucy dishes.
- Superior vacuum control: Often offer adjustable vacuum strength, allowing for gentle sealing of delicate foods without crushing them.
- Cheaper bags: Can use smoother, less expensive vacuum bags.
- Cons:
- Higher cost: Significantly more expensive than external sealers.
- Bulkier: Larger and heavier, requiring dedicated counter or storage space.
Sous Vide Bags
Regardless of the sealer type, the bags you use are crucial. Always opt for:
- Food-grade and BPA-free: Ensure they are safe for cooking at elevated temperatures.
- Heat-resistant: Designed to withstand the prolonged heat of a sous vide water bath without leaching chemicals.
- Appropriate thickness: Bags typically come in different micron thicknesses. 70-micron bags are suitable for most foods, while 100-micron bags are better for foods with bones or sharp edges to prevent punctures.
- Rolls vs. pre-made: Rolls allow you to cut bags to custom lengths, minimizing waste. Pre-made bags are convenient for standard portion sizes.
How to Vacuum Seal for Sous Vide: A Step-by-Step Guide
Mastering the vacuum sealing process is simple with these steps.
1. Prepare Your Food
Before sealing, always prepare and season your food. Whether it’s a simple salt and pepper rub for steak or a more elaborate marinade for chicken, applying seasonings before sealing allows them to deeply infuse into the food during the vacuuming and cooking process. Patting foods dry, especially meats, can help achieve a better seal and prevent liquids from interfering.
2. Choose the Right Bag and Setup
Select a bag that comfortably fits your food, allowing ample room (usually 2-3 inches) at the open end for sealing. Ensure the inside of the bag’s opening is clean and dry to facilitate a strong seal. If using a vacuum sealer roll, cut your desired length and seal one end to create a pouch.
3. Operating Your Vacuum Sealer
- For External Sealers: Place the open end of the bag into the sealer’s vacuum channel. Close the lid firmly until it latches. Select the appropriate mode (e.g., “dry” for solid foods, “moist” if there’s some liquid). Press the “Vacuum & Seal” button. The machine will remove air and then automatically heat-seal the bag. For delicate items like fish or soft fruits, use a “pulse” function if available, or manually stop the vacuum when sufficient air is removed, then press “Seal Only.”
- For Chamber Sealers: Place the entire bag, with the food inside and the open end laid flat across the sealing bar, into the chamber. Close the lid. Choose your desired vacuum and seal settings, then start the cycle. The chamber will depressurize, vacuum, and seal, then reintroduce air.
4. Tips for Sealing Liquids and Wet Foods
Working with marinades or juicy foods can be tricky with external sealers.
- Pre-freeze liquids: Partially freeze marinades or sauces before adding them to the bag with your food. This prevents liquids from being drawn into the sealer.
- Fold the bag lip: Fold the top edge of the bag (where the seal will be) outwards before adding food. This keeps the sealing area clean and dry.
- Use the “moist” setting: If your sealer has one, this setting often provides a stronger, longer seal for foods with some moisture.
- Manual stop: Watch closely. If liquid starts to climb towards the sealing area, manually press “Seal Only” to prevent it from reaching the machine.
- Chamber sealers: If you frequently cook with liquids, a chamber sealer is worth the investment as it handles them with ease.
Alternatives to Vacuum Sealing: The Water Displacement Method
While a dedicated vacuum sealer offers the best results, you can still achieve a good, air-free seal for sous vide using the water displacement method with zipper-lock bags. This technique is particularly useful for those on a budget, for quick cooks, or when dealing with highly liquid marinades that external sealers struggle with.
How it Works (Archimedes’ Principle)
The water displacement method leverages Archimedes’ principle: as you submerge an object in water, the water pressure pushes against it. By slowly lowering a partially open bag into water, the surrounding water pressure naturally forces the air out of the bag.
Step-by-Step Water Displacement
- Place Food in Bag: Put your seasoned food into a high-quality, heavy-duty zipper-lock freezer bag (gallon-sized bags often work well). Arrange the food in a single, even layer if possible.
- Partial Seal: Close the zipper almost all the way, leaving a small opening (about 1 inch) at one corner.
- Submerge Slowly: Slowly lower the bag into a large pot or tub of water, allowing the water pressure to push the air out through the small opening. As the bag submerges, press out any remaining small air bubbles around the food.
- Complete the Seal: Once the water level reaches just below the small opening and most of the air has been expelled, fully zip the bag closed.
- Check for Air: The bag should now cling tightly to your food, with minimal air. If you see significant air pockets, simply unseal the corner, re-submerge, and try again.
When to Use It and Its Limitations
- Good for: Quick cooks (a few hours), recipes with lots of liquid, delicate foods that might be crushed by a strong vacuum sealer, and budget-conscious cooks.
- Limitations: While effective for many uses, it doesn’t achieve the same complete, commercial-grade vacuum as a dedicated sealer. For very long cooks (e.g., 24+ hours), it’s less reliable as bags might slowly reintroduce air. It also doesn’t offer the same long-term freezer protection as a true vacuum seal against freezer burn.
Choosing the Best Vacuum Sealer for Your Kitchen (Buying Guide)
Investing in a vacuum sealer is an investment in better cooking and smarter food management. Here’s how to choose the right one.
1. Determine Your Needs
- Frequency of use: How often will you use it? Daily meal prep, occasional batch cooking, or just for sous vide?
- Types of food: Will you mainly seal solids, or do you plan to cook many marinated or saucy dishes? This will guide your choice between external and chamber sealers.
- Storage space: Do you have ample counter space or cabinet room for a larger chamber sealer, or do you need a compact external model?
2. Features to Look For
- Vacuum strength & control: Look for adjustable settings (normal/gentle) and a pulse function for delicate foods.
- Sealing options: “Dry” and “moist” settings are valuable, especially for external sealers, to optimize the seal based on food moisture. A “double seal” feature provides extra security.
- Built-in bag storage & cutter: These features add convenience, allowing you to create custom-sized bags easily from a roll.
- Ease of cleaning: Removable drip trays are a plus for cleaning up any accidental liquid spills.
- External hose attachment: Useful for vacuum-sealing canisters or marinating bowls.
3. Budget vs. Investment
- Entry-level external sealers are excellent for beginners and occasional users, offering good performance without a hefty price tag (e.g., Nesco VS-12, Anova Precision Vacuum Sealer).
- Mid-range external sealers offer more features, better durability, and stronger seals.
- Chamber sealers are a significant investment but provide professional-level performance, especially for liquids, and often cheaper bag costs in the long run.
4. Read Reviews
Check out reviews from other sous vide enthusiasts and culinary experts. Look for mentions of reliability, consistency of seals, ease of use, and performance with various food types. Brands like FoodSaver, Anova, and Nesco are frequently recommended for home use.
Troubleshooting Common Sous Vide Vacuum Seal Issues
Even experienced cooks encounter hiccups. Here are some common problems and solutions:
- Floating Bags: This is almost always due to residual air in the bag.
- Solution: Re-seal the bag, ensuring all air is removed. If using the water displacement method, submerge more slowly and press out air more thoroughly. For long cooks, some foods can produce gas; simply re-open, press out gas, and re-seal.
- Leaky Seals:
- Solution: Ensure the bag’s sealing area is perfectly clean and dry. Even tiny food particles or moisture can compromise a seal. Use the “moist” setting if applicable, or try a double seal for extra security. Check for punctures in the bag, especially with bone-in meats, and use thicker bags if needed.
- Liquid in the Sealer (External Models):
- Solution: This indicates liquid was drawn into the machine. Always pre-freeze liquids or use the fold-over bag lip technique. If it happens, clean the drip tray thoroughly and allow the machine to dry completely before next use.
- Crushing Delicate Foods:
- Solution: Use your sealer’s “gentle” or “pulse” function to control the vacuum strength. You can also manually stop the vacuum and then press the “seal only” button.
Conclusion
The sous vide vacuum seal is more than just a step in the cooking process; it’s the foundation for achieving truly exceptional sous vide results. By understanding its critical role in heat transfer, flavor infusion, and food preservation, you empower yourself to cook with greater precision, consistency, and culinary creativity.
Whether you opt for a robust chamber sealer, a convenient external model, or master the ingenious water displacement method, embracing proper sealing techniques will transform your sous vide journey. So, seal with confidence, cook with precision, and savor the incredible flavors that await. What culinary masterpiece will you create with your perfectly sealed ingredients?
Frequently Asked Questions
Do I really need a vacuum sealer for sous vide?
While not strictly mandatory thanks to the water displacement method, a vacuum sealer is highly recommended for optimal sous vide results. It ensures a more complete air removal for even cooking, prevents leaks, enhances flavor, and offers superior food preservation benefits for meal prepping and long-term storage.
Can I reuse sous vide vacuum bags?
Many sous vide bags, especially those designed for quality, are reusable, particularly if they were used for clean, unmarinated foods. Simply wash them thoroughly with soap and warm water, sanitize if desired, and dry completely. Inspect them for any damage before reuse. Reusing bags is an eco-friendly and cost-effective practice.
What is the difference between a dry and moist setting on a vacuum sealer?
The “dry” setting is for solid foods with no moisture, providing a standard seal. The “moist” setting is designed for foods with some liquid or marinade. It typically uses a stronger heat seal and might vacuum for a shorter period to prevent liquids from being drawn into the machine, ensuring a more reliable seal.